TIP: How to sync your entire Sublime Text project over to your dev server with a single keystroke

Posted on September 21, 2013 by David Hilowitz

If you do all of your web coding on your laptop, but don’t run a local PHP stack, you may be searching for a quick way to sync your files over to your dev server. Well, my friends, look no further than rsync. Not only is it fast and secure, but you can actually set it up to be a build tool in Sublime Text 2. Here’s how to set that up:

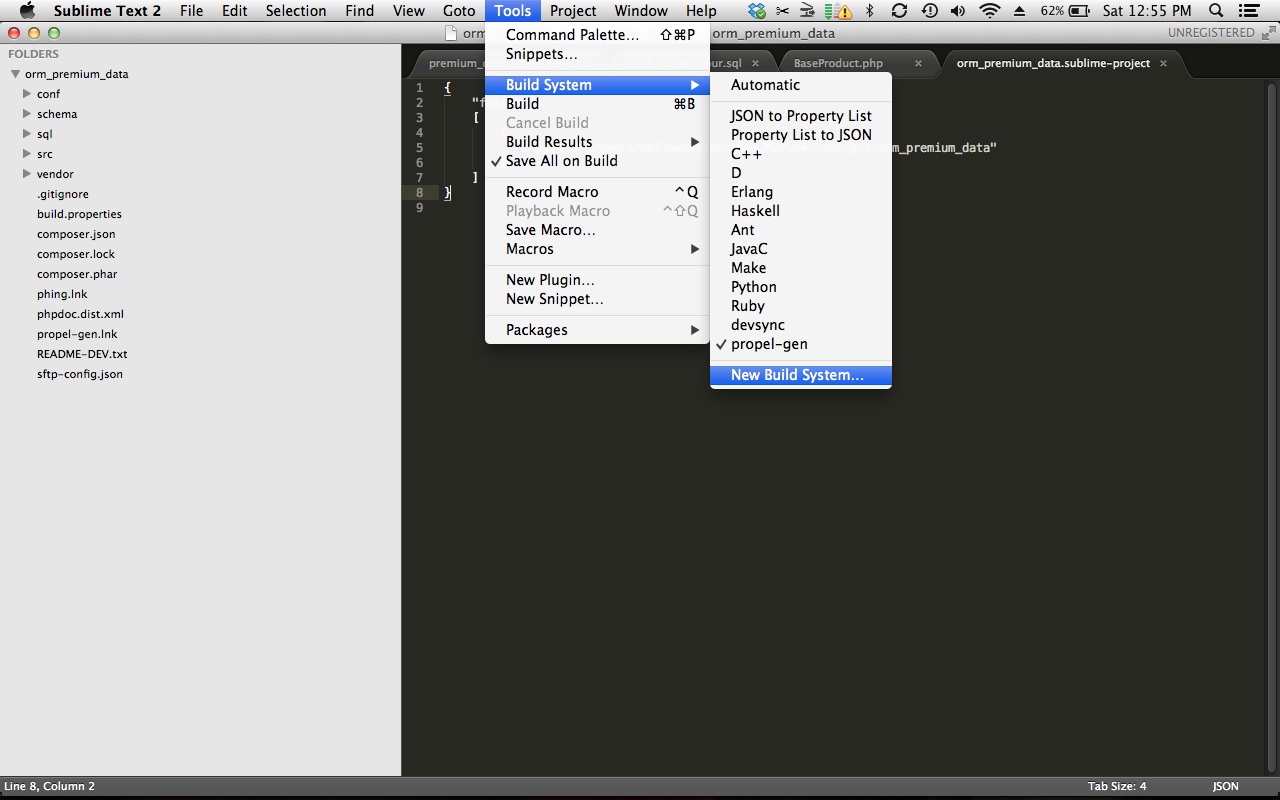
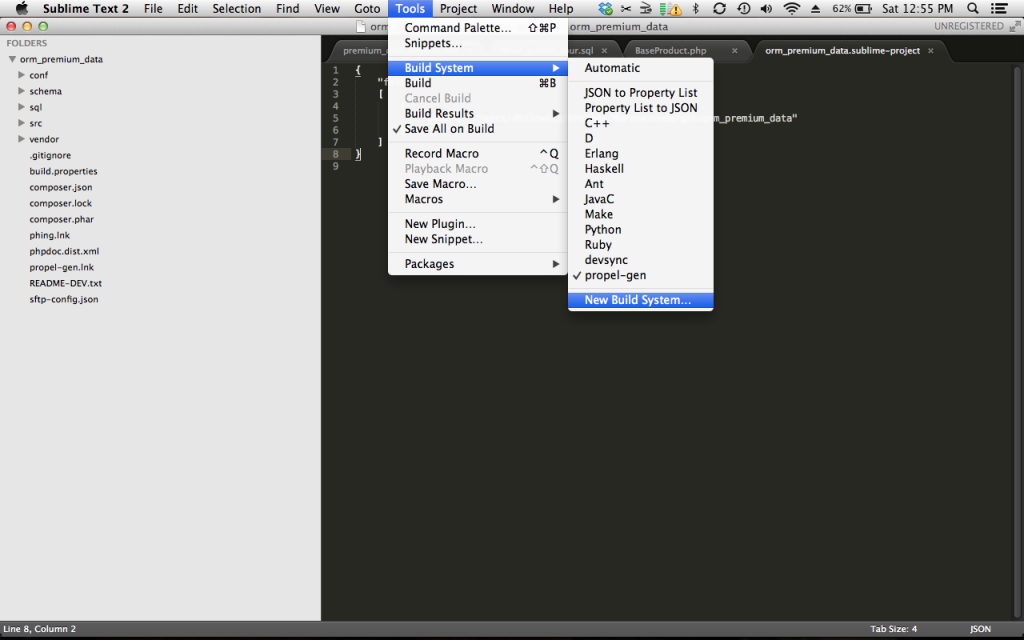
1. Select the Tools → Build System → New Build System… menu option.

Screenshot 2013-09-21 12.55.38

2. A new window will pop up with the a blank template for your new build system. Here’s what mine looks like:

{
   "cmd": ["./devsync", "${project_base_name}"], 
   "working_dir": "/Users/dhilowitz/code/"
}

As you can see, I don’t run rsync directly, but rather point Sublime Text to a shell script called devsync that lives in my ~/code directory. I have this file saved as devsync.sublime-build.

3. Finally, here’s what that ~/code/devsync script looks like:

#!/bin/bash

if test -z "$1"
then
     echo "Missing folder name argument."
else
     RSYNC_TO="[email protected]:/mnt/www/$1/"
     echo "Syncing from `pwd`/$1 to $RSYNC_TO"
     rsync -avz --delete --exclude '.git' -e ssh ./$1/ $RSYNC_TO
fi

That’s it! Of course, your development setup is probably not identical to mine, so you will have to play around in order to get things working properly. rsync can be a finicky thing to get working if you don’t have experience with it. You may want to do some trial and error on the command line before moving your commands into the shell script. It should be noted that it is possible to actually invoke rsync directly from Sublime Text (i.e. without a shell script). It’s also possible to set it up on a per-project basis so that you use different settings depending on which project you are working with. Here’s an example of a project file that invokes rsync directly:

{
     "folders":
     [
          {
               "path": "."
          }
     ],
    "build_systems":
    [
        {
            "name": "rsync",
            "cmd": [
                 "rsync",
                 "-avz",
                 "--delete",
                 "--exclude",
                 "'.git'",
                 "-e",
                 "ssh",
                 "./site/",
                 "[email protected]:/var/www/"
            ]
        }
    ]
}

Good luck!

–Dave

TIP: Turn WordPress Page Titles On or Off Using Custom Fields

Posted on April 25, 2013 by David Hilowitz

Most WordPress themes display page titles for every page. This is usually what one wants, but sometimes it’s useful to be able to easily turn off WordPress page titles for individual pages but still keep them on by default. This is easy to do with custom fields. For simplicity’s sake, I am going to base these examples on the default WordPress Twenty Twelve theme although the same principle should apply to almost any theme.

The first step is to find where the page title is being generated. In the Twenty Twelve theme, this is in the content-page.php file. Go into content-page.php and find the block of code that looks like this:

<header class="entry-header">
<h1 class="entry-title"><?php the_title(); ?></h1>
</header>

and change it to this:

<?php if (get_post_meta($post->ID, 'show_title', true) != "no") {?>
<header>
<h1><?php the_title(); ?></h1>
</header>
<?}?>

As you can see we’ve wrapped the <header> tag in an “if” statement. This checks for the presence of a “show_title” custom field for this particular page. If one is present and its value also equals “no,” we don’t show the title. Otherwise, the page title is shown.

The only step left is to open up the editor for the page you want to modify. Go to the bottom of the page to the “Custom Fields” section. (If there is no “Custom Fields” section, you may have to go up to the top, click “Screen Options” and check the “Custom Fields” box.) In the “Name” box, type “show_title.” In the “Value” box, type “no.” Hit “Update.”

That’s it! Your page title should be gone from that page.

–Dave Hilowitz

Introducing Tito

Posted on October 20, 2010 by David Hilowitz

Tito ScreenshotHi Everyone,

I wanted to introduce the first of what I hope will be several Chrome Experiments (prediction: all HTML5, and all music-related). It’s called Tito, and you can play with it here.

What is it? It’s an early prototype for a musical instrument that uses a bouncing ball gravity model to trigger and manipulate audio samples. It’s an instrument that designed to be played as chord accompaniment for a lead instrument. You “play” the instrument by  clicking the chord buttons on the right. Note for music geeks: 7ths and Dim notes are provided with each chord, but muted by default. Click on the notes at the bottom of the bouncing ball graphs to enable them.

Requirements: Tito requires Chrome, Safari, or Firefox. Also, Tito requires Flash as the audio portion is still being done in Flash (Currently Firefox 4 is the only browser to have an HTML5 spec for audio data, alas.)

Here are the new features I’m working on for the next version:

  • Ability to choose between multiple different sample sets.
  • Option to retrigger all the balls on each chord change.
  • Ability to position falling balls by clicking on them and letting go. Done! 10/21/10.
  • Sliders for changing gravity settings.
  • And finally, whatever features you want. @reply me on twitter (@dhilowitz).
  • Ability to mute specific balls. Done! 10/19/2010.
  • Ability to change chords. Done! 10/1/2010.

Please enjoy!

–David