jsTaskPaper: Display Taskpaper Todo lists as HTML using Javascript
For the longest time I’ve wanted to set up a giant billboard-style to-do list in my office–something that would be so big that it would be hard to ignore.  I was tempted by Panic’s gorgeous Status Board iOS app, but I didn’t know how easy it would be to integrate my daily Taskpaper-based todo lists with Panic’s widgets. (Also, the thought of tying up my iPad for this project was a no go.) We have tons of old computers lying around here, all perfect for powering a read-only browser-based status board, so it seemed like a no-brainer to throw something together.
Surprisingly, there didn’t seem to be any Javascript-based TaskPaper formatters out there.  So, using Jim King’s tp_to_html.pl script as a starting point, I created jsTaskPaper, a Javascript library for rendering TaskPaper files as HTML. Here’s what the output looks like:
Usage is pretty simple. You create a div in your HTML like so:
<div id="scratchTasks"></div>
and then you invoke the Javascript lib as follows:
<script type="text/JavaScript"> $(document).ready(function(){ new TaskPaperPanel('#scratchTasks', '<url-of-taskpaper-todo-file>', 4000); }); </script>
That’s pretty much it. Once you’ve got it set up, you can style it using the taskpaper.css file.
Check it out here:Â jsTaskPaper
–Dave
TIP: How to sync your entire Sublime Text project over to your dev server with a single keystroke
If you do all of your web coding on your laptop, but don’t run a local PHP stack, you may be searching for a quick way to sync your files over to your dev server. Well, my friends, look no further than rsync. Not only is it fast and secure, but you can actually set it up to be a build tool in Sublime Text 2. Here’s how to set that up:
1. Select the Tools → Build System → New Build System… menu option.
2. A new window will pop up with the a blank template for your new build system. Here’s what mine looks like:
{ "cmd": ["./devsync", "${project_base_name}"], "working_dir": "/Users/dhilowitz/code/" }
As you can see, I don’t run rsync directly, but rather point Sublime Text to a shell script called devsync that lives in my ~/code directory. I have this file saved as devsync.sublime-build.
3. Finally, here’s what that ~/code/devsync script looks like:
#!/bin/bash if test -z "$1" then echo "Missing folder name argument." else RSYNC_TO="[email protected]:/mnt/www/$1/" echo "Syncing from `pwd`/$1 to $RSYNC_TO" rsync -avz --delete --exclude '.git' -e ssh ./$1/ $RSYNC_TO fi
That’s it! Of course, your development setup is probably not identical to mine, so you will have to play around in order to get things working properly. rsync can be a finicky thing to get working if you don’t have experience with it. You may want to do some trial and error on the command line before moving your commands into the shell script. It should be noted that it is possible to actually invoke rsync directly from Sublime Text (i.e. without a shell script). It’s also possible to set it up on a per-project basis so that you use different settings depending on which project you are working with. Here’s an example of a project file that invokes rsync directly:
{ "folders": [ { "path": "." } ], "build_systems": [ { "name": "rsync", "cmd": [ "rsync", "-avz", "--delete", "--exclude", "'.git'", "-e", "ssh", "./site/", "[email protected]:/var/www/" ] } ] }
Good luck!
–Dave
TIP: Turn WordPress Page Titles On or Off Using Custom Fields
Most WordPress themes display page titles for every page. This is usually what one wants, but sometimes it’s useful to be able to easily turn off WordPress page titles for individual pages but still keep them on by default. This is easy to do with custom fields. For simplicity’s sake, I am going to base these examples on the default WordPress Twenty Twelve theme although the same principle should apply to almost any theme.
The first step is to find where the page title is being generated. In the Twenty Twelve theme, this is in the content-page.php file. Go into content-page.php and find the block of code that looks like this:
<header class="entry-header"> <h1 class="entry-title"><?php the_title(); ?></h1> </header>
and change it to this:
<?php if (get_post_meta($post->ID, 'show_title', true) != "no") {?> <header> <h1><?php the_title(); ?></h1> </header> <?}?>
As you can see we’ve wrapped the <header> tag in an “if” statement. This checks for the presence of a “show_title” custom field for this particular page. If one is present and its value also equals “no,” we don’t show the title. Otherwise, the page title is shown.
The only step left is to open up the editor for the page you want to modify. Go to the bottom of the page to the “Custom Fields” section. (If there is no “Custom Fields” section, you may have to go up to the top, click “Screen Options” and check the “Custom Fields” box.) In the “Name” box, type “show_title.” In the “Value” box, type “no.” Hit “Update.”
That’s it! Your page title should be gone from that page.
–Dave Hilowitz
How and Why I Switched Away From Doit.im
Why
This evening, I migrated away from doit.im. I had been using it for over a year and liked it quite a bit, but increasingly I found myself reverting to a TaskPaper-formatted text file for my daily tasks, which defeated the purpose of having all of my big stuff in Doit.im.
Ultimately, I’m looking for a system that will be able to accomodate little daily lists that I make as well as my grandest long-term plans. Doit.im was really good with the latter, but really just OK for the day-to-day tasks.
Overall, doit.im is pretty well designed. My biggest complaint is that you can’t reorder task lists manually. Why does this matter? Well, one of the biggest questions (if not the biggest question) I am looking to have answered is “What should I do next?” IÂ answer this (in theory, at least) by staying on top of all my lists, by making decisions early and often, and by ordering and reordering every project’s task list over and over throughout the day. The operative principle is that I could then move from project-to-project, effortlessly checking off the next task from each one, before going back to the beginning of the list and starting over. Real life isn’t so perfect, but that’s the concept at least.
Even if three or four tasks could potentially be done to move a project forward, I still need to make a decision about which one to start with. In other words, I’m not interested in what can be done next, I’m interested in what will be done next. The difference between these two things is the difference between my moving forward in a project and just staring bewildered at the 568 tasks in my list.
In summary, manual ordering is essential.
How
Leaving Todo.im was technically much harder than I had expected. I had migrated onto their service using their wonderful API. At the time I had been using Remember The Milk, so I wrote a script that parsed RTM’s RSS feed and inserted the tasks from that one-by-one via Doit.im’s API. Pretty straightforward.
Things were quite a bit harder this time around, though, as Doit.im have disabled their API. To make matters worse, they have no functionality for exporting task lists. This isn’t the sort of feature one notices when deciding to use a task management system, but it probably should be. (I should add, at the risk of sounding paranoid, that it’s hard to see their decision to discontinue their API or any kind of export functionality as anything other than an anti-competitive move.)
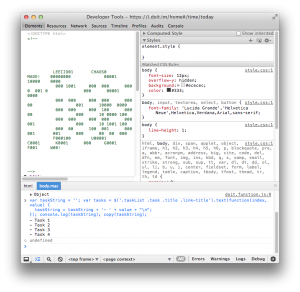
This left their web app. If you go to any of their list views, you can see that all of the tasks are in divs with the class “link-title.” This means it’s fairly easy to scrape this data into a JavaScript variable, and then into a the clipboard buffer. Here goes:
1. In Chrome: open up the Doit.im website
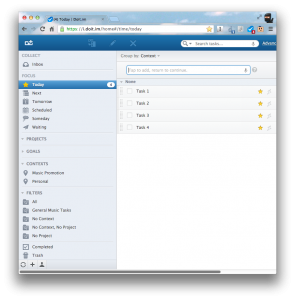
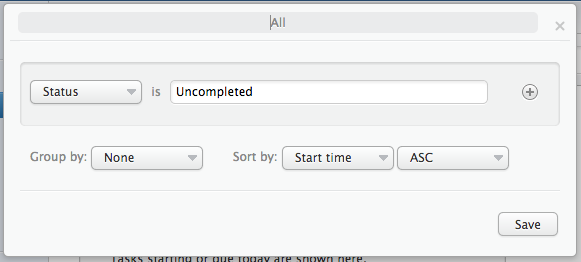
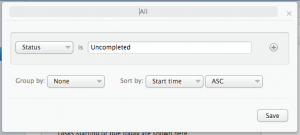
2. (optional)  Make a custom filter that will show you all tasks
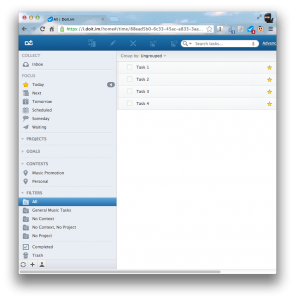
3. Open up a list view for your custom filter (works with any list view really)
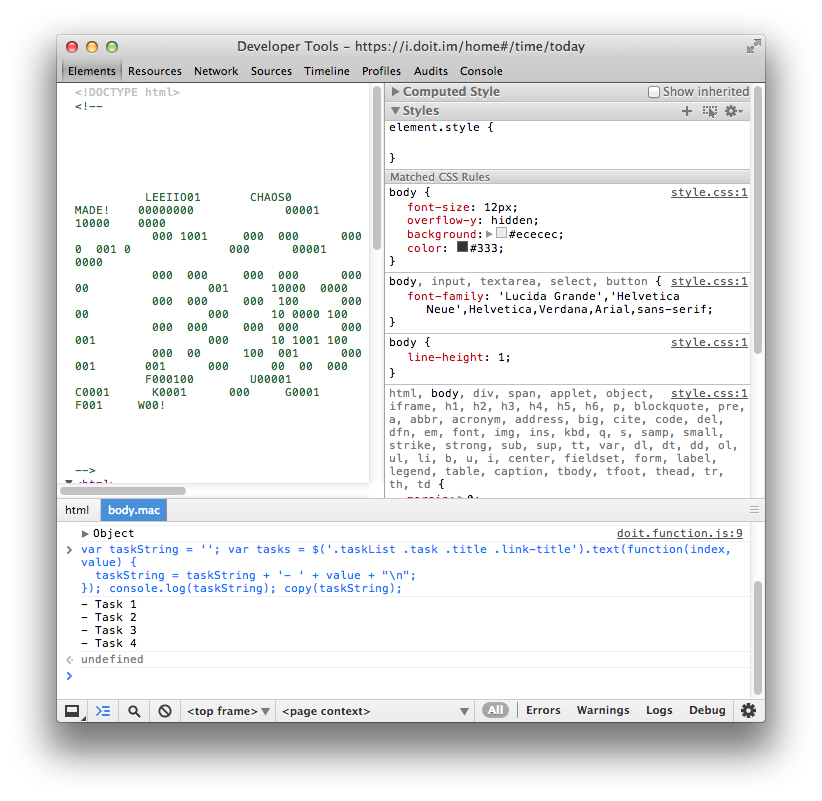
4. Open up the Developer Console (option+command+i on the Mac).
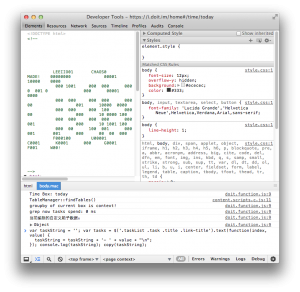
5. Paste this snippet…
var taskString = ''; var tasks = $('.taskList .task .title .link-title').text(function(index, value) { taskString = taskString + '- ' + value + "\n"; }); console.log(taskString); copy(taskString);
…into the console and hit enter.
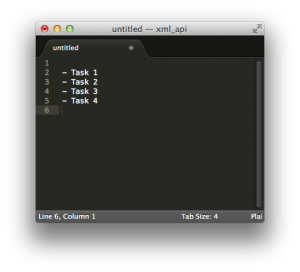
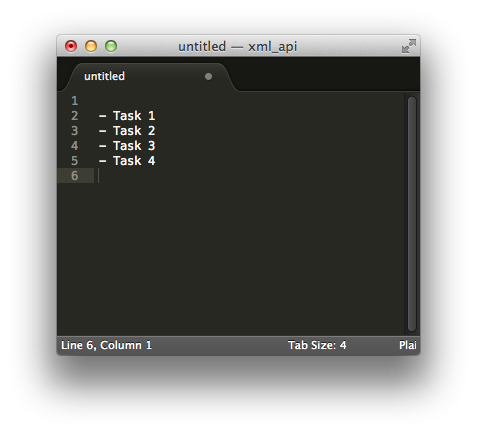
6. Go into your favorite text editor and paste.
Introducing Tito
I wanted to introduce the first of what I hope will be several Chrome Experiments (prediction: all HTML5, and all music-related). It’s called Tito, and you can play with it here.
What is it? It’s an early prototype for a musical instrument that uses a bouncing ball gravity model to trigger and manipulate audio samples. It’s an instrument that designed to be played as chord accompaniment for a lead instrument. You “play” the instrument by  clicking the chord buttons on the right. Note for music geeks: 7ths and Dim notes are provided with each chord, but muted by default. Click on the notes at the bottom of the bouncing ball graphs to enable them.
Requirements: Tito requires Chrome, Safari, or Firefox. Also, Tito requires Flash as the audio portion is still being done in Flash (Currently Firefox 4 is the only browser to have an HTML5 spec for audio data, alas.)
Here are the new features I’m working on for the next version:
- Ability to choose between multiple different sample sets.
- Option to retrigger all the balls on each chord change.
- Ability to position falling balls by clicking on them and letting go. Done! 10/21/10.
- Sliders for changing gravity settings.
- And finally, whatever features you want. @reply me on twitter (@dhilowitz).
Ability to mute specific balls. Done! 10/19/2010.Ability to change chords.Done! 10/1/2010.
Please enjoy!
–David
TIP: How to get “anonymous” class functions to show up in Safari’s JavaScript Profiler
I’ve been developing a JavaScript module for some graphing work I’m doing. I’ve been using Safari’s built in profiler to figure out which functions are wasting the most CPU. It’s a great tool:
For the longest time, I was running up against this one problem: some of my member functions were being listed simply as “(anonymous function)” in the Profiler function list (see highlighted row above). Not cool. (Luckily for me, the Profiler also lists the .js file and the line number, so it wasn’t that hard to figure things out, but certainly annoying nonetheless.)
Anyway, I’ve finally found a solution. You see, I was declaring my class functions as follows:
Grafsz.prototype.ClearCanvas = function()Â { ... }
…notice how I’m not giving my function a name? I’m basically assigning an anonymous function to a member variable of the class. All I had to do was change it to
Grafsz.prototype.ClearCanvas = function ClearCanvas() { ... }
That’s it. Check it out:
TIP: “Google Analyticator” Plug-In for WordPress
We frequently use Google Analytics to track the readership of the blogs we design and create. Fed up of having to configure Google Analytics tracking code over and over again for each new theme we create (and we’ve done this for a lot of themes over the years), we finally decided to search for aWordPress plug-in to do it for us.
In comes “Google Analyticator.”
Not only does it add the Google tracking code to the bottom of your posts, but it also has a ton of other features like outbound link tracking, download tracking, turning itself off for Admin users, etc. A lot of these features are things we actually developed custom solutions for back in the day so it will definitely be interesting to see how they stack up.
Check it out: http://wordpress.org/extend/plugins/google-analyticator/